
This weekend I built and launched a website on one of my domain names, TagManager.com. If you didn’t read my first post, it outlines the process I follow to get a basic WordPress site up and running. I got a lot of good feedback on this post and learned that people seem to be really interested in doing a deeper dive into every step I take so I thought, why not space this out into a four or five part series.
I was talking to a friend about what I was doing this weekend and he said, “you’re going to fast, you should really break this down into smaller bite-sized steps…we all haven’t done this a million times you know!” So that’s what I’m doing and hence why this will now end up going beyond a two-part series.
In this post I’m going to focus on one of my favorite WordPress plugins that adds a lot of powerful features to WordPress, it’s called Jetpack and it’s made by the same company that makes WordPress, Automattic. While you can pay for Jetpack to get more features like daily backups, if you’re using WP Engine you get features like that included so you can get by with the free version of Jetpack and be a-okay.
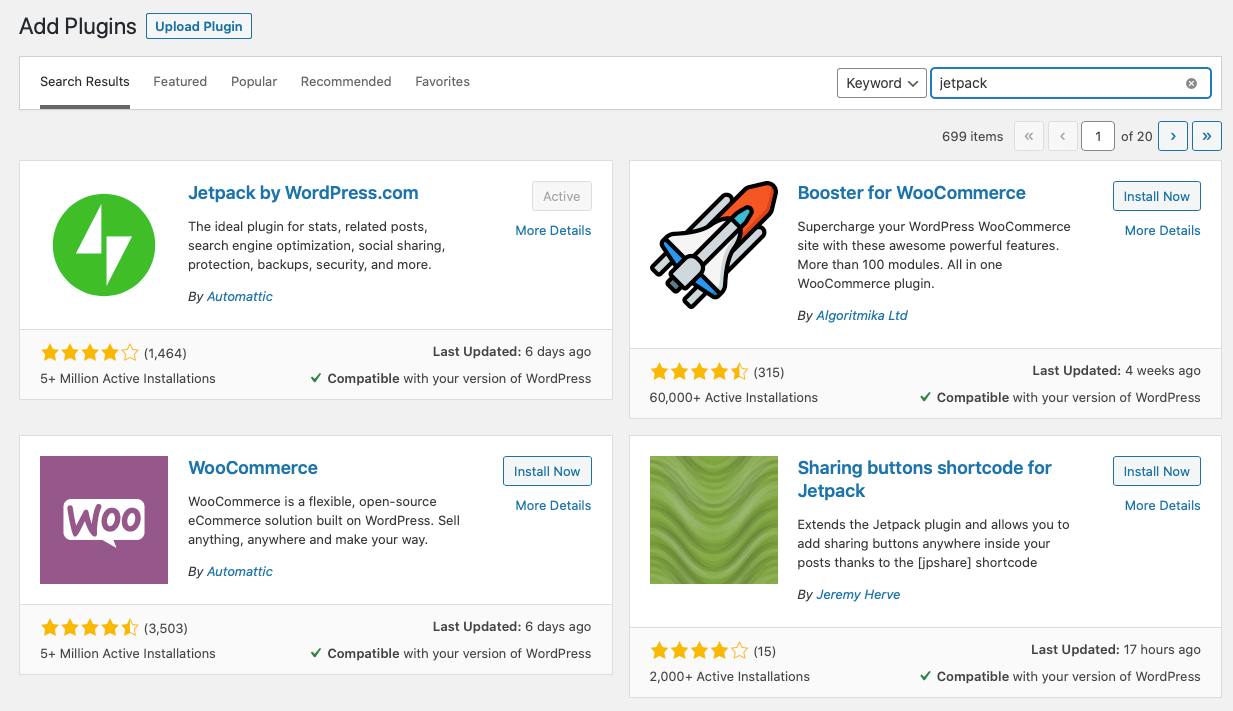
While there’s no exact right way to configure Jetpack, I’ll walk you through what I do when I’m setting it up on a new WordPress site for the first time. First things first, for anyone new to WordPress plugins, you can get Jetpack by simply navigating over to Plugins in the menu on the left-hand side, selecting “Add New” and searching for Jetpack. You’ll end up seeing something like this:
If you’re too lazy to search for the plugin, there’s also a good chance it will just be sitting there staring you in the face when you login to your WordPress Dashboard, if that’s the case, you’ll see this front-and-center:
So what exactly does Jetpack do? Well it’s really a Swiss Army Knife of a plugin that does a lot of things. For me there’s really three key things I use it for:
- Improving security
- Improving performance
- Getting a quick view of my traffic
Once I install the Jetpack plugin, I go through a series of steps, some you can follow along with their handy wizard to do, others you’ll need to go in and tweak yourself. Here are the things I normally do to get Jetpack up and running in WordPress.
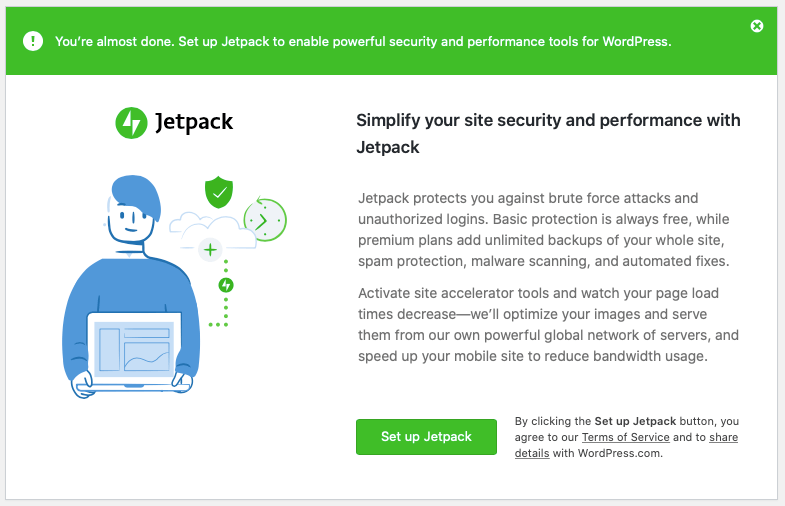
First things first, you might think you have to pay for Jetpack because when you first start getting things setup, you’ll find a page with a bunch of different paid plan options. Just scroll down to the very bottom of that page and look for this little button:

Not surprisingly they hide it at the bottom but scroll down and you’ll see it. Once you’ve clicked that you’ll be taken to the free version of Jetpack and you’ll see a screen like this:
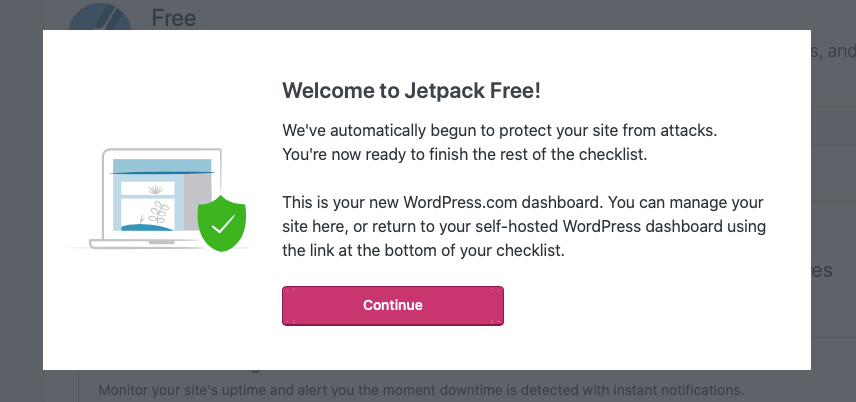
Hit continue and start configuring. The first thing I usually turn on is Downtime Monitoring. While this is a bit redundant since WP Engine will do it for you as well, I don’t mind doubling up since knowing if your site ever goes down is about as mission critical as it gets.
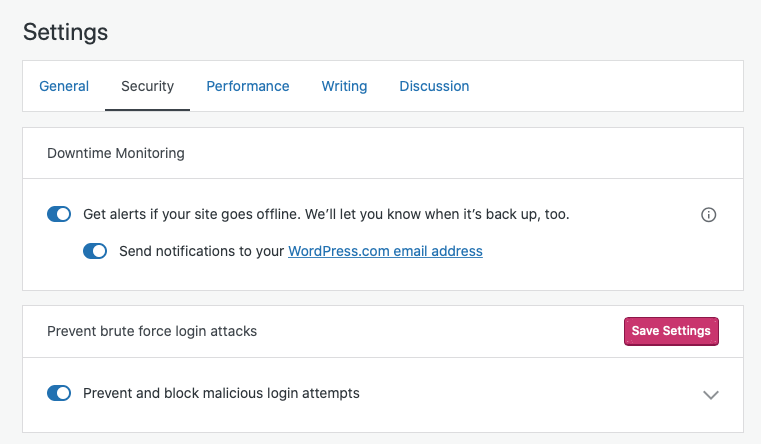
After that double-check to make sure that “Prevent and block malicious login attempts” is checked, it should already be by default. There, two simple steps and you’ve already improved the security of your site and your ability to respond to a potential downtime event. Next up is Performance, which is just one tab to the right of Security.
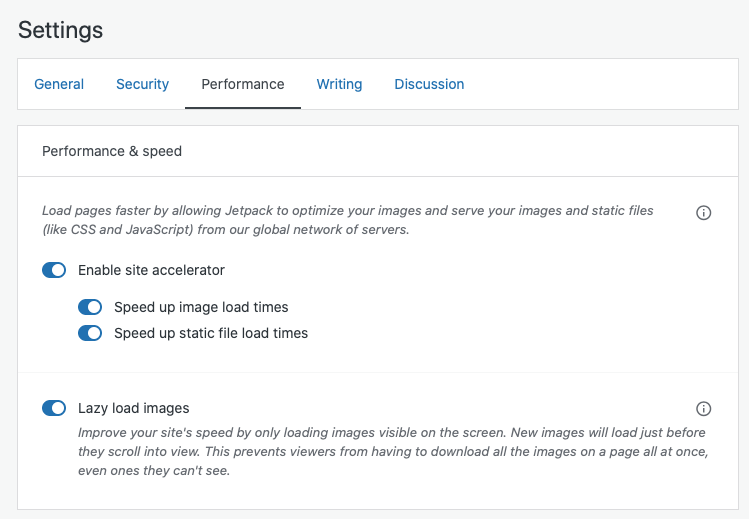
I check everything here. Jetpack has a site accelerator that essentially allows your images and static files to load faster by leveraging their optimized global network of servers. Turning on “Lazy load images” is also a nifty trick to not load any images that aren’t in view, which in some cases can really speed things up.
If you’re looking for more ways to speed up your WordPress site, I recommend reading this blog post, also from Jetpack, covering things you can do to really go above-and-beyond. Since I’m just building this site in a weekend, this is more than enough for me to tweak.
Next up is Akismet which, trust me, is an absolute must and no, they aren’t paying me to say that. The one big issue that WordPress sites have is tons and tons, and tons, of spam comments. Akismet is easily the most well-known and trusted plugin for eliminating spam. You’ll probably see something like this on your Dashboard:
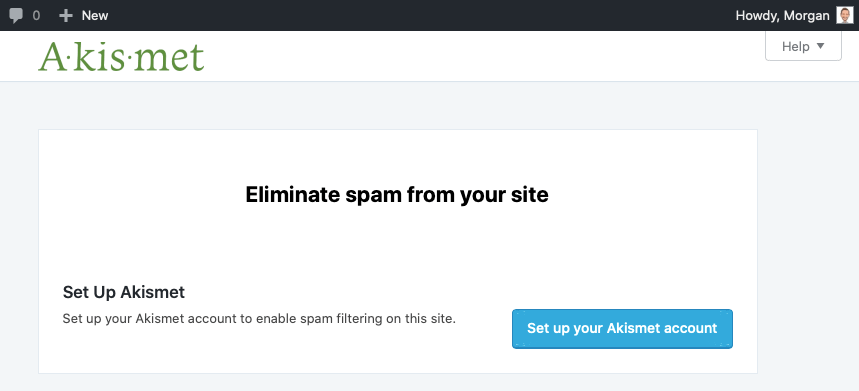
If not, you know the drill, just go to Plugins, then Add New, search for Akismet, and get rocking. While you can get away with using Jetpack for free I personally do pay $5/month for Akismet. You’ll see this list of plans when you first go to get things setup:
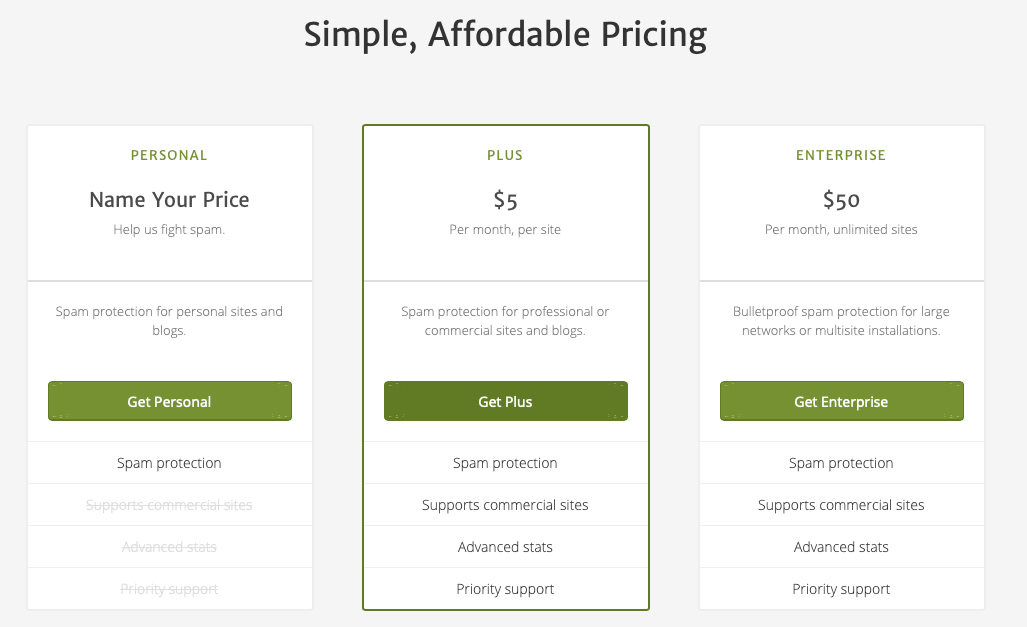
While you can technically use Akismet for free under the “Personal” plan, that doesn’t allow for commercial sites and well, I want to make money with this website and really any website I launch so I go with the “Plus” plan. Honestly, to not have to spend your time sorting through garbage comments is worth the $5 and Akismet has been around for a long time making great software so I like supporting them.
Setting up both Jetpack and Akismet takes a combined 10 minutes or so and it’s usually the first thing I do once I get a new WordPress site up and running. Stay-tuned for part three where I’ll walk through setting up the All-in-one-SEO pack and getting some other basic SEO in place.
Thanks for reading and stay-tuned for Part Three!